Sending a Blender project to a render farm sounds simple. You finish your scene, upload the file, and let powerful GPUs handle the rendering.
In theory, that is exactly how it should work.
But in real production projects, many render farm problems start before the render farm even touches the file. A scene that works perfectly on your own computer can fail in the cloud because the setup depends on files, caches, addons, or paths that only exist locally.
This is one of the biggest reasons why artists sometimes feel frustrated with cloud rendering. The render farm is fast, but the project was not prepared in a way that makes remote rendering reliable.
And for Blender artists, this matters a lot. Blender scenes can become complex very quickly. Linked textures, Geometry Nodes, particle systems, simulations, custom scripts, and third-party addons can all become part of the final result. If one piece is missing, the render may look wrong, fail completely, or take much longer than expected.
Why preparation matters before using a Blender render farm
A render farm does not see your project the same way your local machine does.
Your computer may already have the right textures in a folder somewhere. It may have the addon installed. It may have simulation cache files stored on your drive. It may have the exact Blender version you used while building the scene.
A render farm needs access to all of that too.
If the project is not packaged correctly, the cloud system may open the Blender file, but it will not necessarily see everything the same way your own setup does. This is where many artists run into the classic problem:
It worked locally, but it failed on the render farm.
That does not always mean the render farm is bad. Very often, it means the project was relying on local files or settings that were not included during upload.
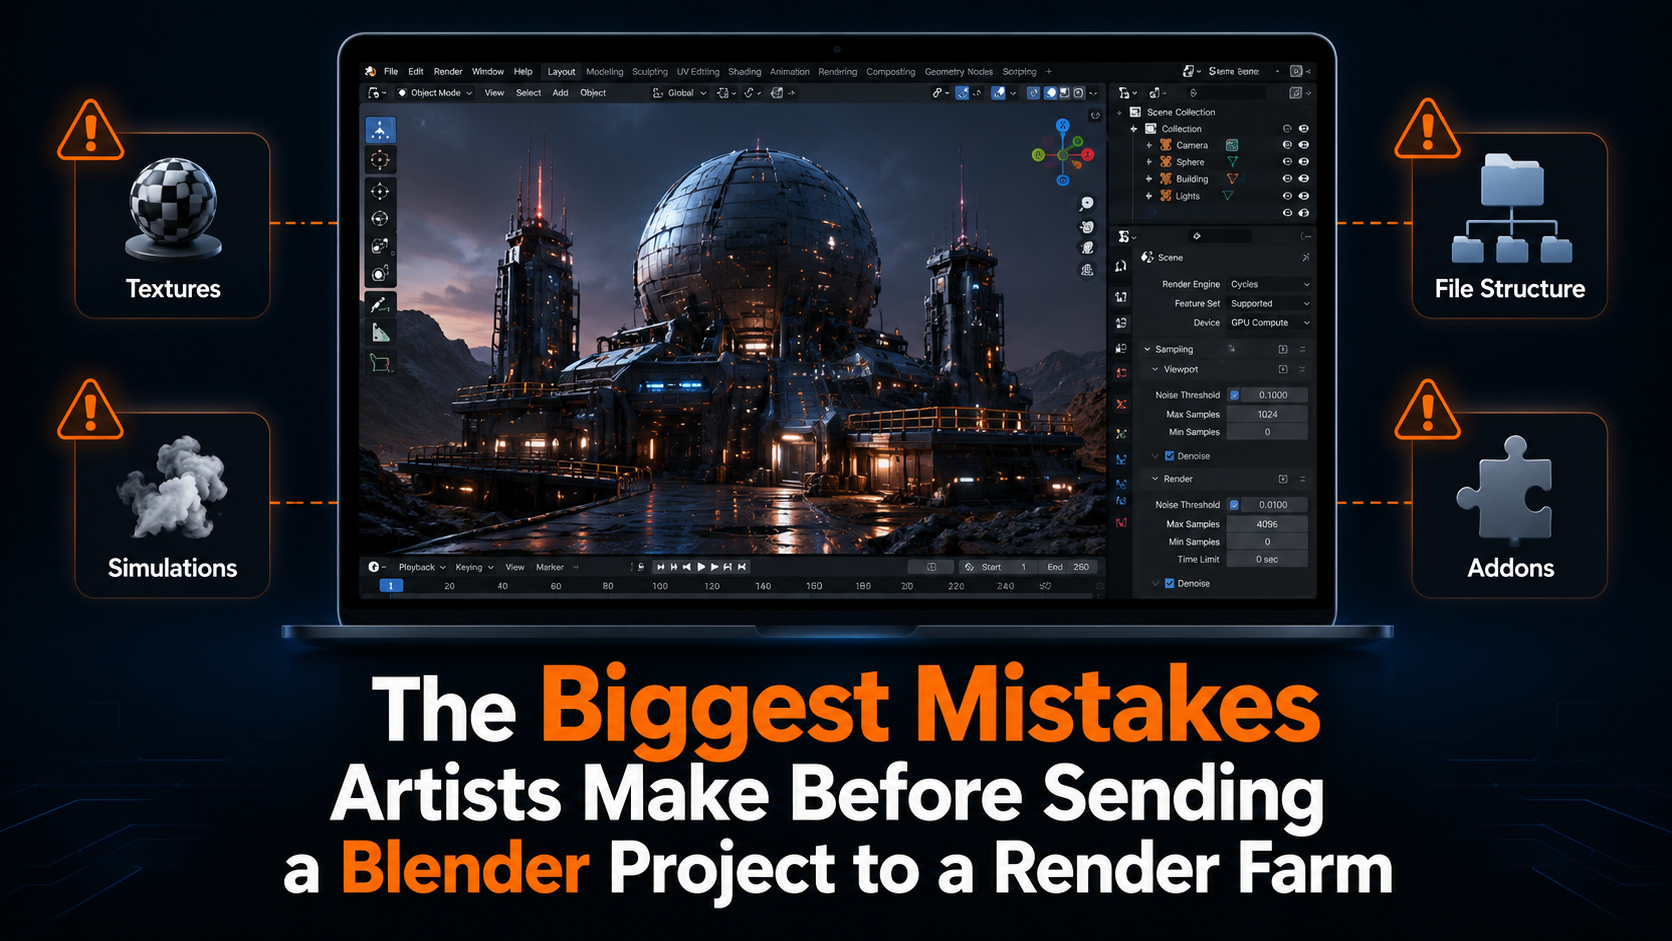
Mistake 1: Missing or unlinked textures
Textures are one of the most common reasons Blender render farm jobs fail or produce wrong results.
A scene may look perfect on your workstation because Blender can still find the texture files on your hard drive. But when the project is uploaded to a cloud render farm, those local file paths do not exist anymore.
The result can be painful. Materials turn pink. Objects render without detail. Product visuals look unfinished. Animation frames suddenly become unusable.
This often happens when textures are stored outside the main project folder, downloaded from asset libraries, linked from old directories, or referenced from external drives.
Before sending a Blender project to a render farm, artists should make sure all textures are included and correctly linked. Packed textures can help, but for larger production scenes, a clean project folder with proper file structure is usually better.
Mistake 2: Forgetting simulation caches
Simulations are another major source of render farm issues.
Fluid simulations, smoke, fire, cloth, rigid bodies, particles, and other cached systems can behave differently if the cache is missing or not baked. Your local Blender scene may show the simulation correctly because the cache already exists on your machine. But if that cache is not uploaded, the render farm may have nothing to use.
In some cases, Blender may try to recalculate the simulation. In other cases, the simulation may not appear at all. Both outcomes can waste time.
For animation projects, this is especially risky because one wrong frame can break the entire sequence.
A practical pre-upload check should include:
• Bake all simulations before uploading
• Make sure cache folders are inside the project structure
• Avoid relying on temporary cache locations
• Check that particle systems and physics behave correctly after reopening the file
• Test a few important frames locally before sending the full animation
This is not just about avoiding errors. It is about making sure the render farm receives the exact same project state you see on your screen.
Mistake 3: Messy file structure
A clean file structure is not exciting, but it can save a render job.
Many artists work naturally while creating. They download assets, move folders, test textures, import models, rename files, and save different versions. That is normal. But by the time the project is ready to render, the file structure can become messy.
The Blender file might depend on:
• Textures from several folders
• HDRIs saved somewhere else
• Linked models from another project
• Cache files outside the main directory
• Scripts or assets from a shared drive
• Old paths that still work locally but not remotely
A render farm needs a complete and understandable package. If the project is scattered across your computer, something can easily be left behind.
The best approach is to keep the render version of the project organized in one dedicated folder. The Blender file, textures, caches, linked assets, and required project data should be easy to find and include.
This may feel like extra work, but it is much faster than fixing failed cloud renders later.
Mistake 4: Using unsupported Blender addons
Blender addons are powerful, but they can also create problems in remote rendering.
Some addons only help during scene creation and do not matter during the final render. Others generate geometry, control materials, manage assets, create procedural environments, or affect the rendered output directly.
If the render farm does not support the addon, the scene may not open correctly, or the final frames may look different from the local version.
This is why addon compatibility is important when choosing a Blender render farm. Artists should not assume every addon will work automatically in the cloud.
Before rendering, it is worth checking whether the addon is actually needed for the final output. If possible, apply or bake generated elements into the scene. For example, procedural objects can sometimes be converted, cached, or prepared in a way that makes the render less dependent on the addon itself.
Mistake 5: Not checking the Blender version
Blender version differences can create surprising issues.
A project made in one Blender version may not behave exactly the same in another version, especially if it uses newer features, Geometry Nodes setups, simulation nodes, shader changes, or version-specific behavior.
This becomes even more important for production projects. If the render farm opens the file with a different Blender version than the one used locally, small differences can become visible across many frames.
Before uploading, artists should check which Blender version the render farm uses and whether it matches the project. For more complex scenes, this is not a small detail. It can be the difference between a successful job and a failed one.
Mistake 6: Sending the full project without a small test first
One of the most practical mistakes is also one of the easiest to avoid.
Many artists send the full animation immediately. If the project has 500 frames and something is wrong, the problem may only become clear after time and GPU hours have already been used.
A better workflow is to test a small frame range first. Pick a few frames that represent different parts of the animation. Include frames with simulations, camera movement, complex lighting, close-ups, and heavy geometry.
This helps catch problems early, before committing the full project to the render farm.
For example, a good test could include one frame near the beginning, one in the middle, and one near the end. If the scene has simulations or particles, test the frames where those elements are visible.
Why these mistakes become expensive
The hidden cost of render farm mistakes is not only the failed render itself.
The real cost is the time around it.
You upload the file. You wait. You check the result. Something is missing. You go back into Blender. You search for the issue. You upload again. You test again. Your deadline gets closer.
This is exactly what cloud rendering is supposed to prevent.
A good Blender render farm should not only provide powerful GPUs. It should also reduce the amount of technical stress artists face before and during rendering.
Because most artists do not want to become render pipeline engineers. They want to finish their work, deliver the project, and move on.
How Praxilla succeeds where others fail
At Praxilla, the goal is not just to make rendering faster. The goal is to make cloud rendering more practical for real Blender projects.
Many render farms look good when the scene is simple. The real difference appears when the project includes linked textures, complex file structures, supported addons, heavy animation scenes, and production pressure.
Praxilla helps Blender users by making the upload process more straightforward. You can upload your project directly from Blender using our addon, which is one reason why many of the artists we work with have mentioned it feels very straightforward to use.
Instead of forcing artists to manually prepare everything through a complicated web upload process, Praxilla focuses on a workflow that fits naturally into Blender. This helps reduce the risk of missing important project data and makes it easier to move from local work to cloud rendering.
Praxilla currently supports Blender rendering with Cycles and Eevee, and we also support several popular Blender addons. That matters because addon compatibility is one of the biggest reasons real production projects fail on other render farms.
Security is also part of the workflow. Files are used for rendering, and after rendering is complete, nothing stays on the rendering nodes. Rendered results are moved to secure cloud storage for download and are kept for up to two weeks unless the customer removes the job manually earlier.
This means Praxilla is built around the real problems artists face before and during cloud rendering:
• Missing files and textures
• Addon compatibility issues
• Complex Blender scenes
• Failed production renders
• Time lost before deadlines
• Local workstations being blocked for hours or days
The result is a Blender render farm experience that is not only about GPU power, but also about helping artists avoid the preparation mistakes that usually make render farms frustrating.
Final thoughts
A render farm can save a huge amount of time, but only if the project is prepared correctly.
Before sending a Blender project to a cloud render farm, artists should check textures, simulations, file structure, addons, Blender version, and test frames. These steps may feel small, but they can prevent failed renders, wrong results, and stressful last-minute fixes.
For Blender artists working on animations, product visuals, simulations, or complex production scenes, preparation is not optional. It is part of a reliable rendering workflow.
And with Praxilla, the goal is to make that workflow easier, faster, and more secure.
Learn more about Praxilla support for Blender:
https://praxilla.io/blender-render-farm
Estimate your render time with the Praxilla cost calculator:
https://praxilla.io/cost-calculator
See Praxilla prices:
https://praxilla.io/prices